
In case you haven't heard, dozens of Apple customers have been afflicted with fraudulent charges seemingly from purchases made on iTunes, which saw their bank accounts being billed for purchases they did not make on their iTunes accounts.
Hundreds, in some cases thousands, of dollars were stolen from a host of people's bank accounts because of these unauthorised transactions.
Although Apple has not commented on the scale of the problem yet, it appears that the victims also happen to be customers of most major banks here.
Here's what to do if you suspect you've been affected by this too:
1) Check your bank account for unfamiliar transactions from iTunes
 Source: Deepan Chakkaravarthi's Facebook post
 Source: Audrey Ang
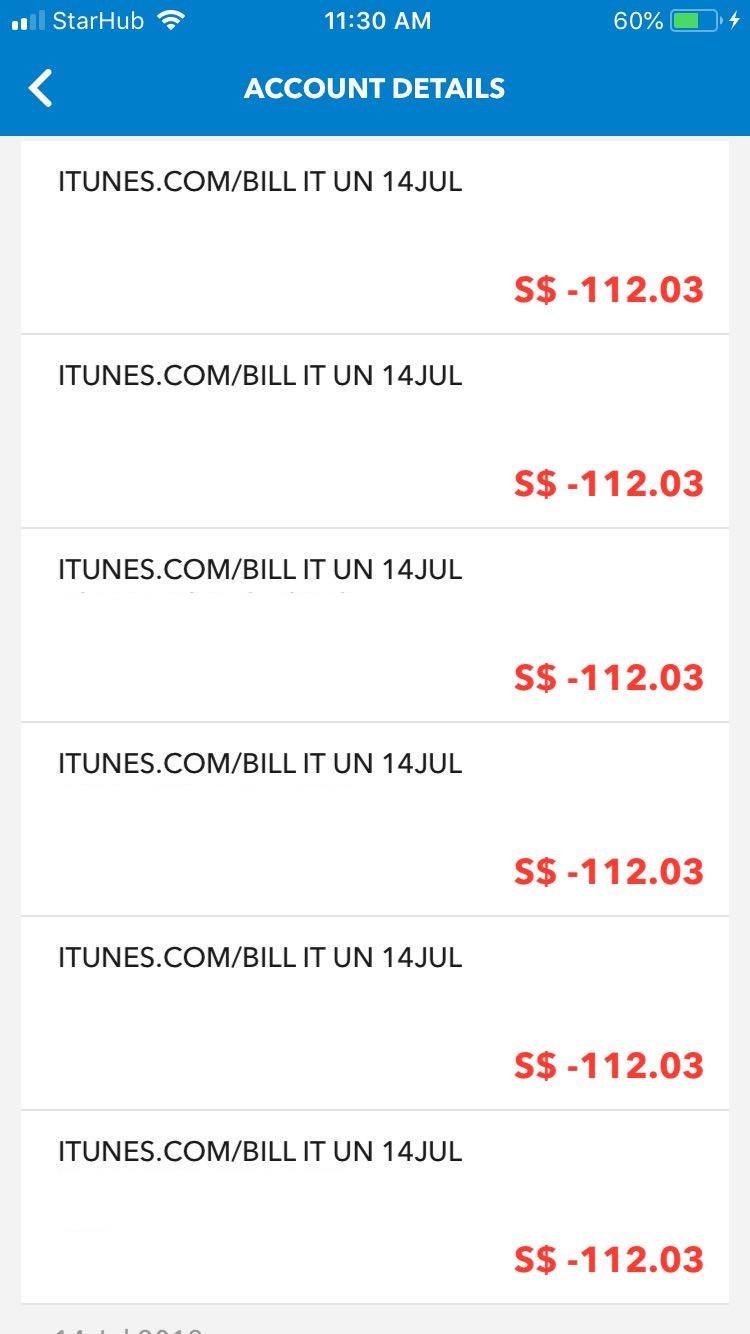
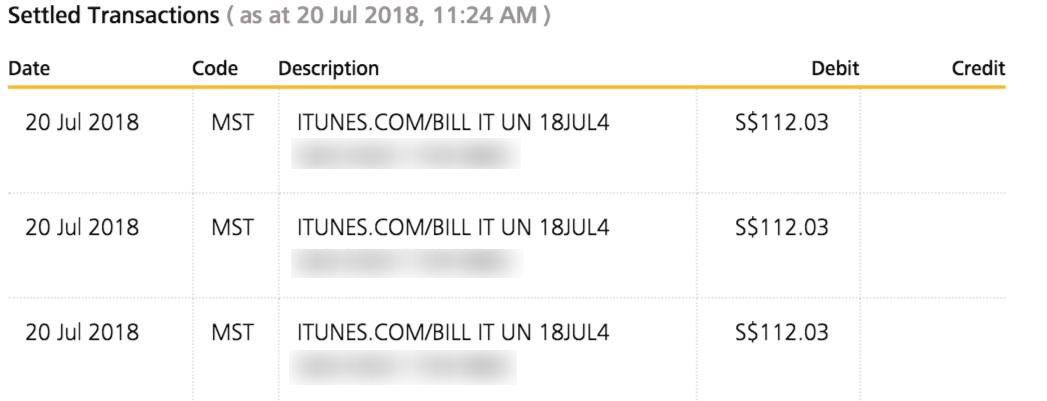
The first thing to do is to check for multiple unrecognised "itunes.com/bill" line items in your bank account's transaction history.
Also check any or all the bank accounts you might have, not just the ones you use to pay for your iCloud and iTunes account.
Some users also reported receiving the iTunes charges through their phone bills — one user found the iTunes charges added to his M1 phone bill.
In the event that you have been affected, you should call your bank to block your card immediately and to dispute the charges made. Make sure you are not liable (i.e. you don't have to pay) for them.
[related_story]
2) Check your account and purchase history with Apple
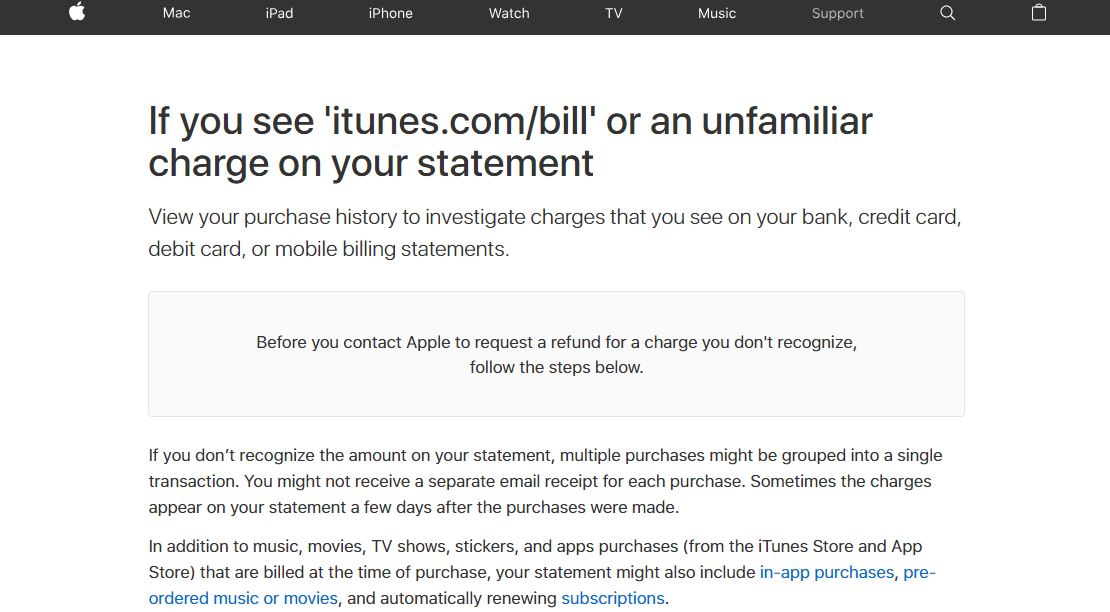
Apple has released a help page on what to do if you receive 'itunes.com/bill' or an unfamiliar charge on your statement at this link: https://support.apple.com/en-sg/HT201382
The page looks something like this:
 Screenshot via Apple website
Apple then proceeds to list out six steps on the same page for you to go through before contacting them for help, although it's technically five since the last step is pretty much about calling them directly.
- Comparing your purchase history with the charges on your statement
- Checking the status of your subscriptions
- Checking all of your Apple IDs
- Managing the sharing of your devices
- Changing your Apple ID password
- Contacting Apple support
We found, though, that going through either steps 1 or 2 independently and finding a discrepancy is enough grounds to call Apple directly without having to go through the rest of the steps, unlike what the top of their page is suggesting.
As both of these steps contain links to pages that in turn contain several more mini-steps you need to take, we have condensed and collated them below to save you the hassle of having to click through each and every one of their pages:
Checking your purchase history:
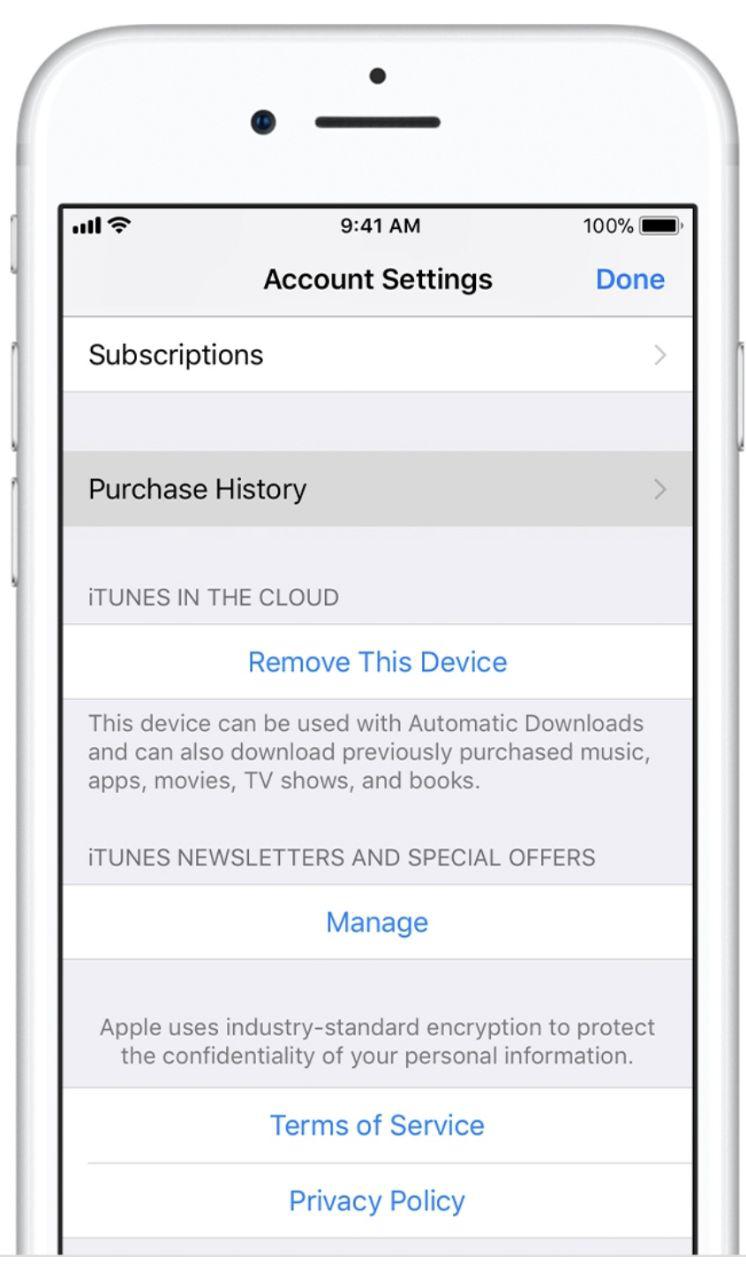
iPhone, iPad or iPod touch
Go to Settings, then [your name], then the iTunes & App Store. Select your Apple ID to view it, then swipe up to your purchase history and tap it.
 Source: Apple website
Your purchase history should look like this, minus the blue and red circles as seen below:
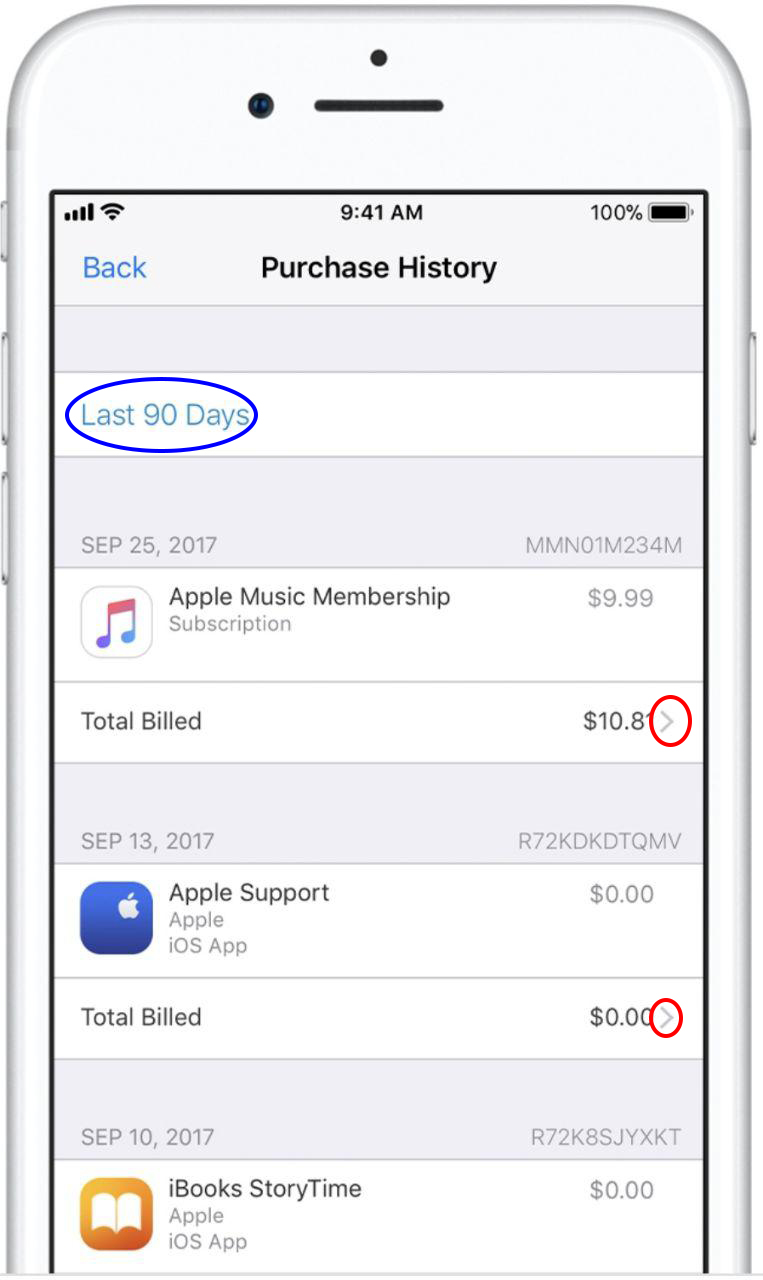
To change the range of your purchase history, simply tap on Last 90 Days as shown in the blue circle. Given that at least one user reported seeing fraudulent charges from as far back as April and May, it might be worth changing the range of your purchase history just to be sure.
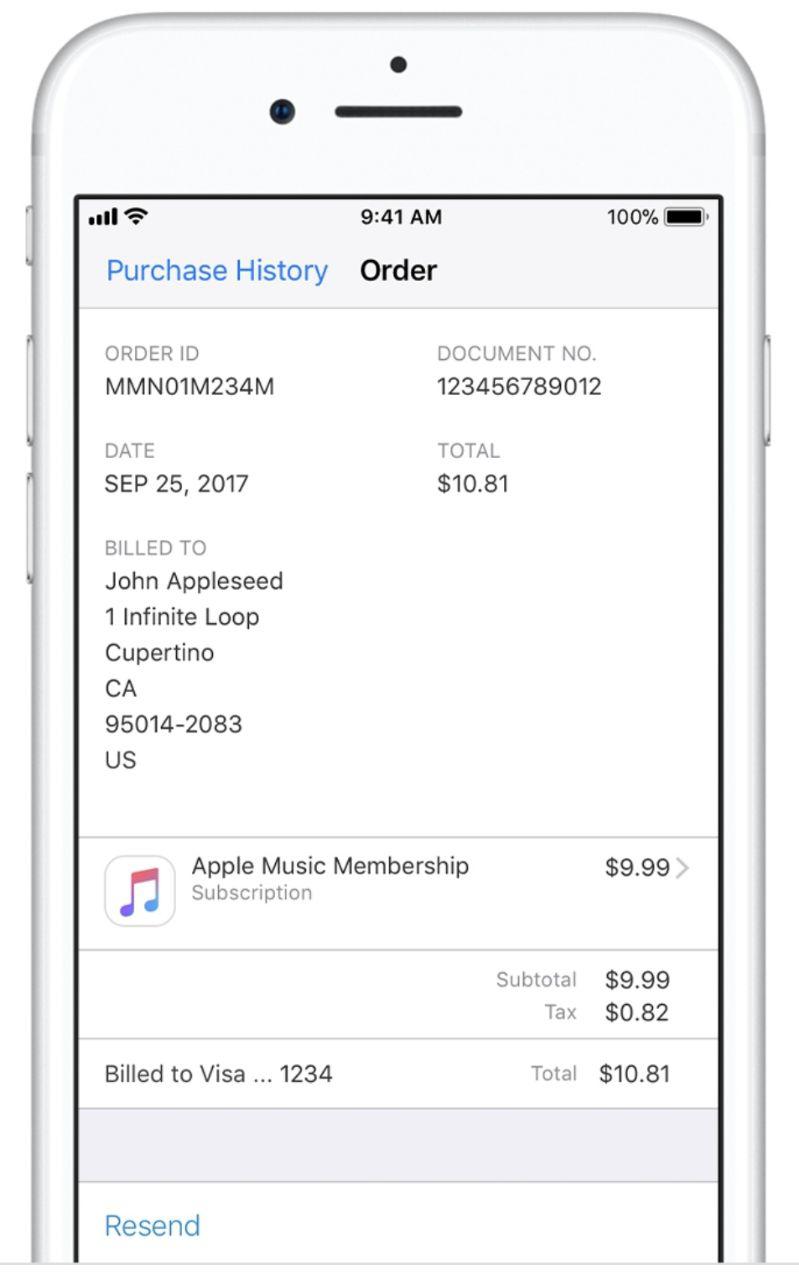
To see the details of an invoice for a particular purchase, click on the right arrow as shown in the red circles above. You will be directed to the screen below:
 Source: Apple website
Within the invoice, you can tap on an item to see the date that you purchased or downloaded the item, which might be different than the date that you were charged, and the name of the device that you used to purchase it.
Mac or PC
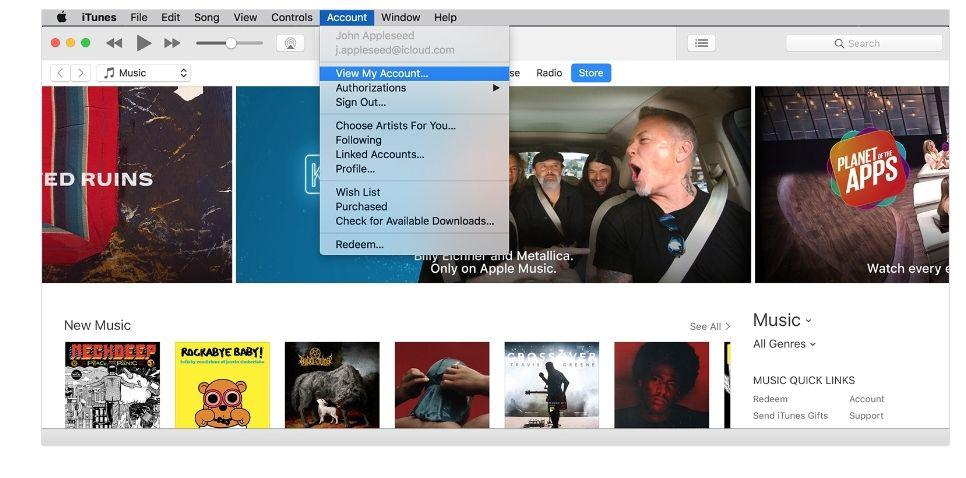
Likewise, if you are on a Mac or PC, open iTunes and sign in with your Apple ID if needed.
From the menu bar at the top of your computer screen or at the top of the iTunes window, select Account and View My Account.
 Source: Apple Website
On the account information page, scroll down to Purchase History, then click on See All to the right of it.
 Source: Apple Website
You will be brought to your purchase history will look like this:
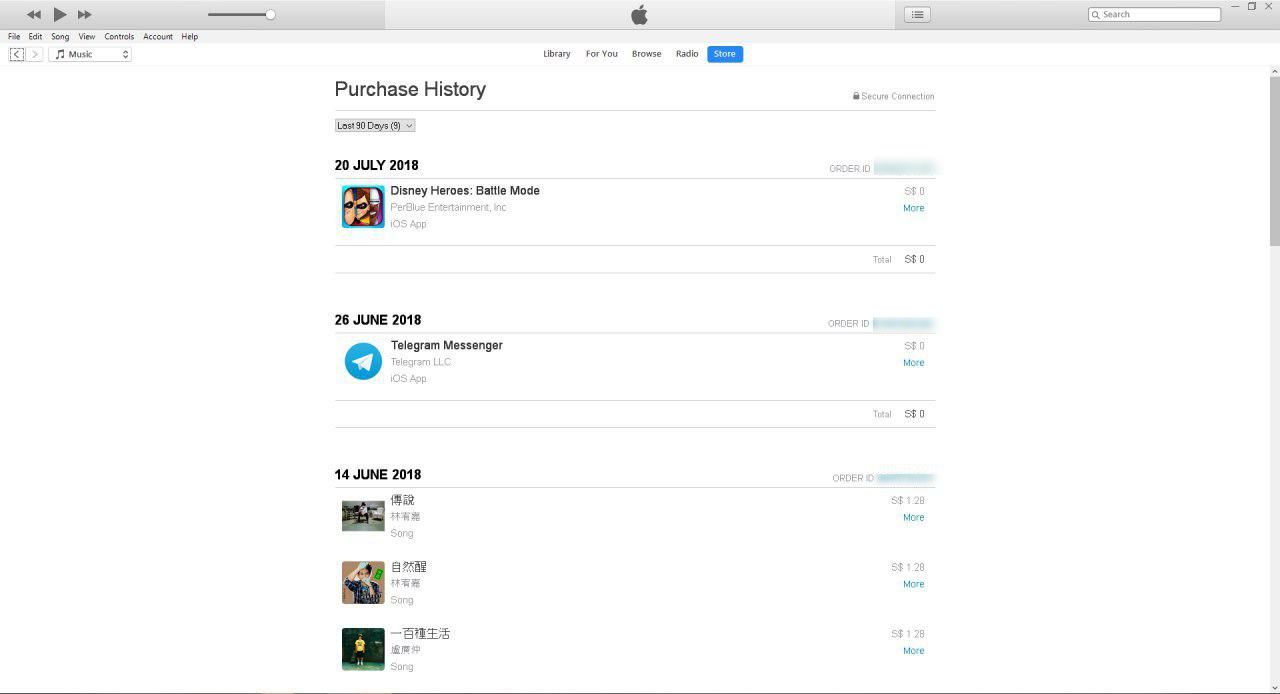
Click the Order ID number (currently blurred out in the image above) to see the invoice details for a particular purchase. Within the invoice, checking on the dates for purchase and payment are the same as those for the iPhone, iPad and iPod touch.
Family Sharing
Note that in the case of Family Sharing, you can only see what you bought in your purchase history under your Apple ID, but you will not see what other family members bought.
What's more, if you see a Pending section at the top of your history, it means those items have not been charged to you yet.
In any case, check all purchases that you do not recognise against your bank statement.
3) Check your subscriptions with Apple
Here, the important issue for all devices is to check that you can see all of your subscriptions on Apple and that the fraudulent charges made are not for a subscription you or your family set up, especially if your subscription is being billed through a third party instead of Apple.
If you are a family sharing organiser, note that you cannot manage your their subscriptions as it can only be done so from their own accounts.
Below, we show you how to get to the subscription screen for different devices.
iPhone, iPad or iPod Touch
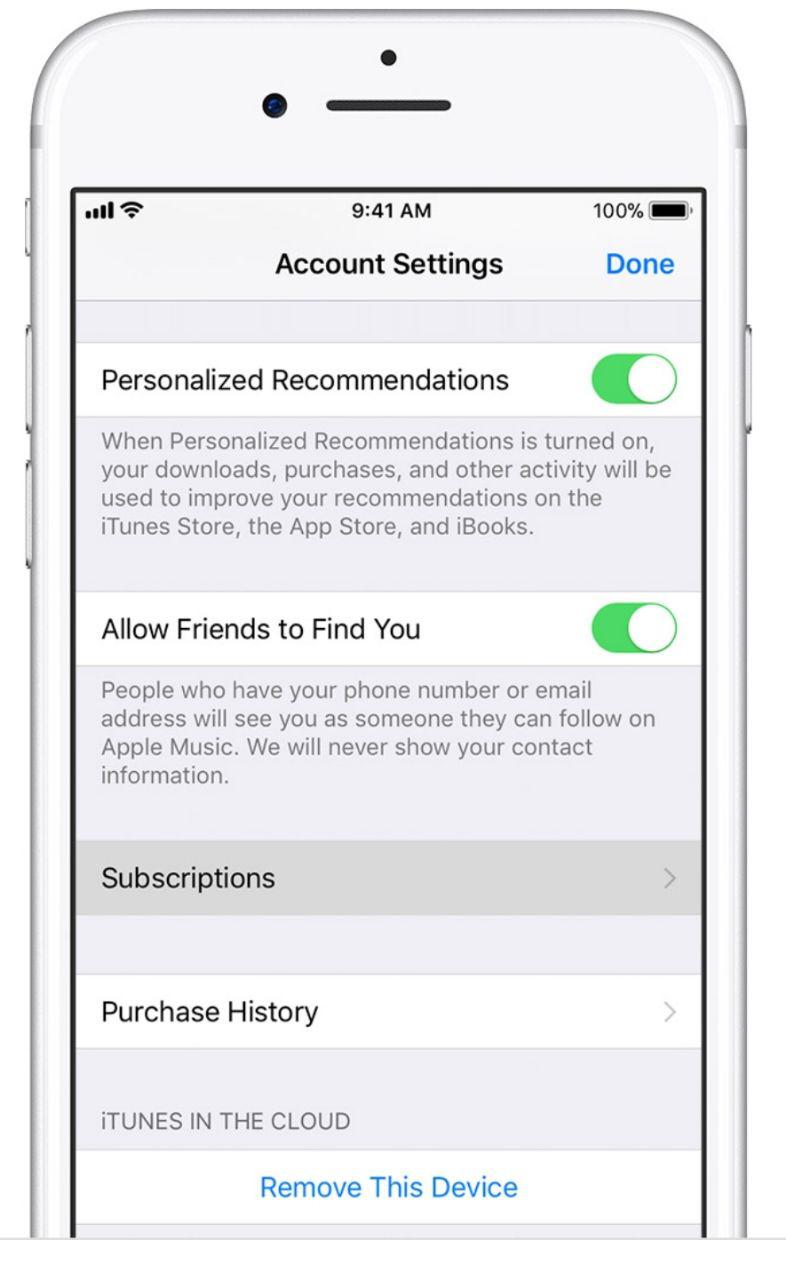
Go into the iTunes & App store and tap Subscriptions:
 Source: Apple website
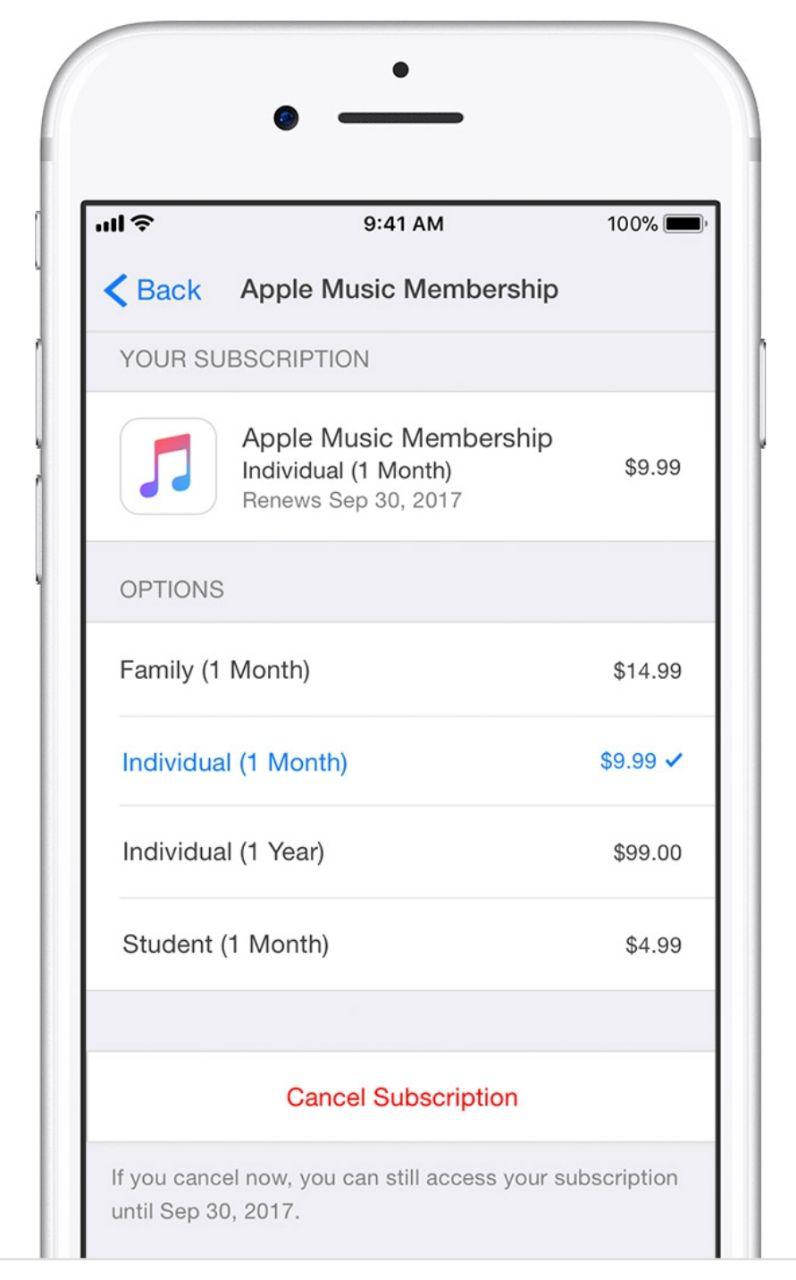
You should be able to see your subscriptions as shown below, with the options to manage them.
Source: Apple Website
Mac or PC
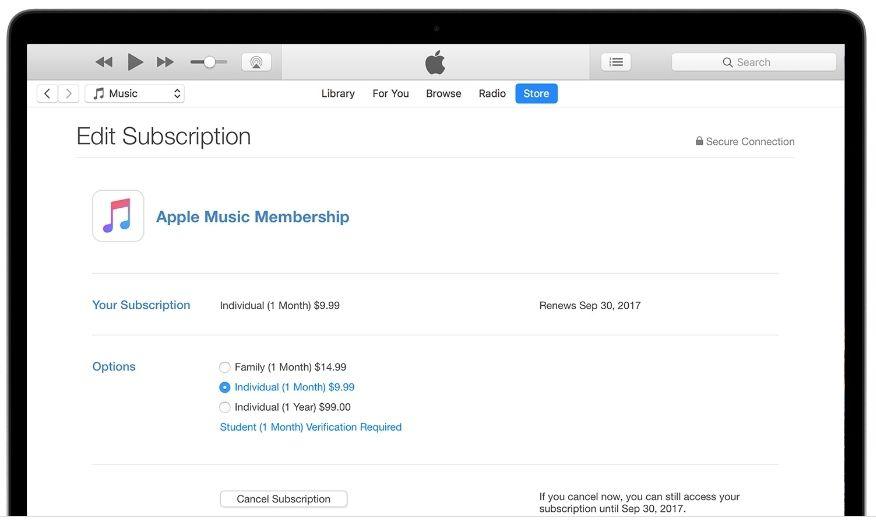
On iTunes, go to View my Account as shown above in the purchase history section, then scroll to down to Settings and click on Manage to the right of Subscriptions as circled in red below:
 Source: Apple Website
You should be able to see the page below, that provides options to manage your subscriptions:
 Source: Apple Website
Apple TV 4k or Apple TV (4th Generation)
You can only edit subscriptions for tvOS apps that are installed on your Apple TV. For Apple TV (3rd generation or earlier), you need to use an iOS device or computer to manage your subscriptions.
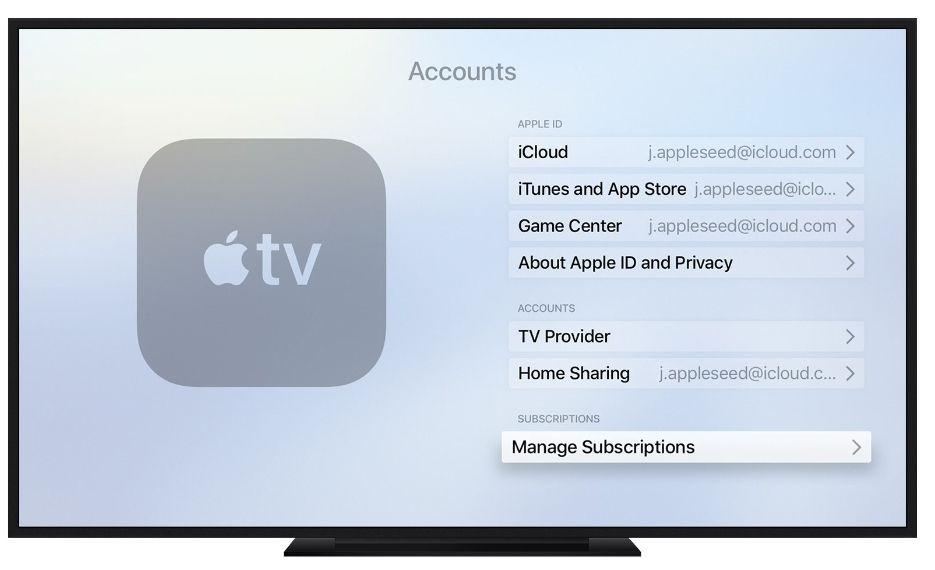
Go to Settings, open Accounts and click on Manage Subscriptions, highlighted at the bottom in the screenshot below:
 Source: Apple Website
Again, you should arrive at a page that displays your subscriptions:
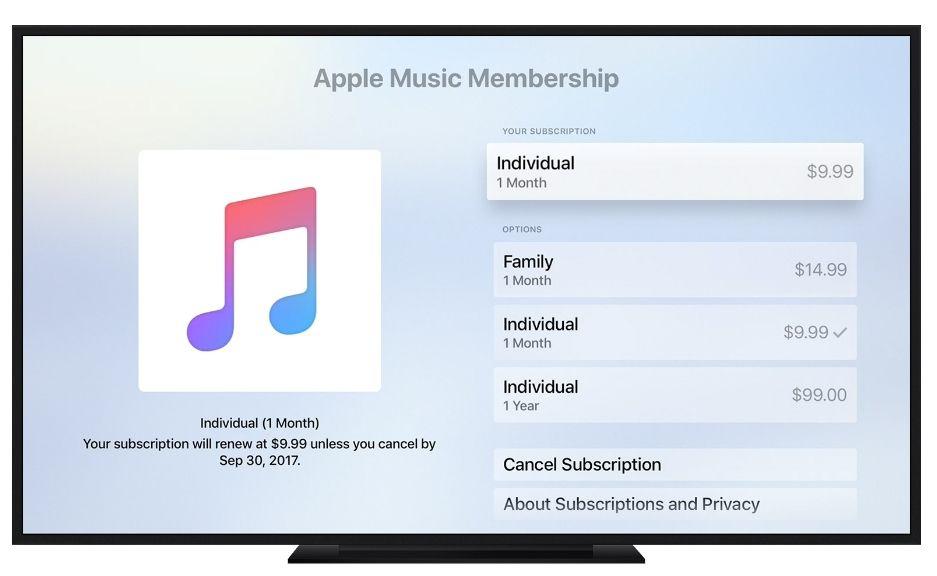 Source: Apple Website
Just a reminder at this point that you don't need check to go and check your subscriptions if you already find something is wrong with your purchase history — just go pick up the phone and call them at 1800-692-7753.
Top image from Apple Website
If you like what you read, follow us on Facebook, Instagram, Twitter and Telegram to get the latest updates.